Certainly! Here’s a comprehensive and romantic deep-dive recipe for a stunning Rosette Buttercream Cake — ideal for special celebrations, romantic occasions, or simply to indulge in the artistry of baking. This version includes history, baking methodology, romantic context, and full details from ingredients to decoration.
Rosette Buttercream Cake (Rosette Cake🎂🌹❤️🌸)
Introduction: A Cake of Love and Art
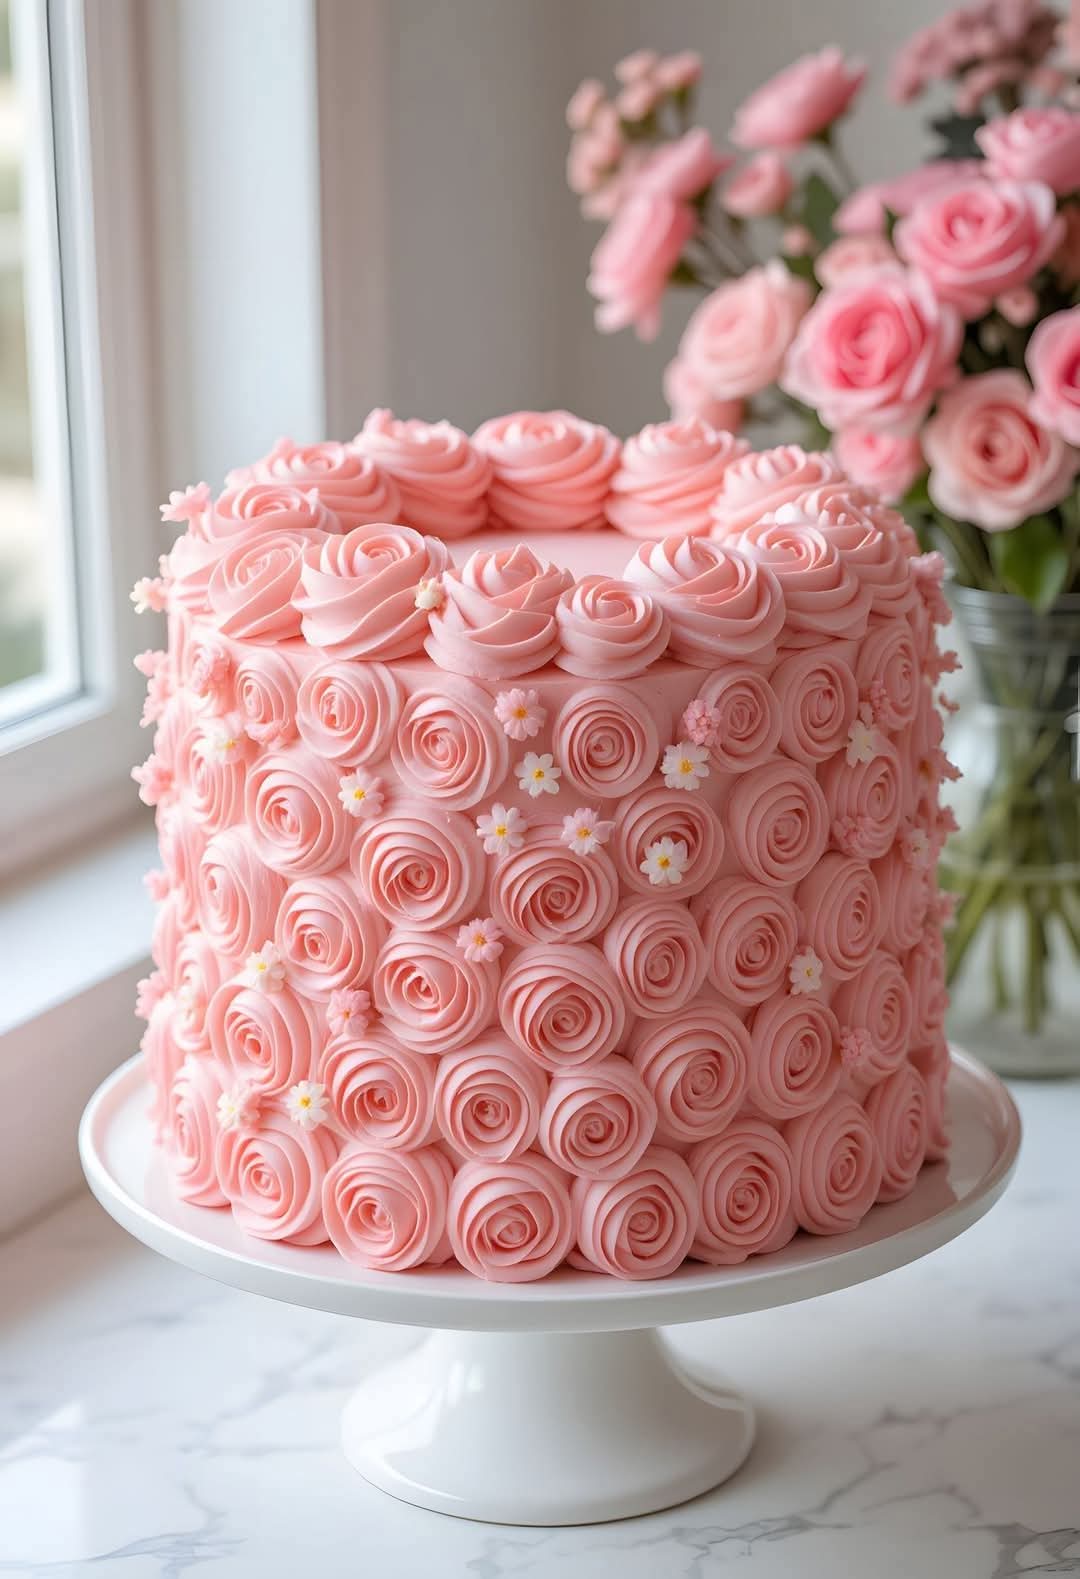
The Rosette Buttercream Cake is more than just a dessert—it’s a symbol of beauty, love, and craftsmanship. With its elegant buttercream roses, this cake is often found gracing engagement parties, weddings, Valentine’s Day celebrations, and heartfelt anniversaries. The delicately piped floral swirls not only elevate the visual appeal but also represent the blooming of affection and joy. Creating this cake is a dance between precision and emotion—a labor of love made with sugar, flour, and an artist’s touch.
Brief History of Buttercream & Rosette Decoration
The origins of buttercream can be traced back to the early 20th century, with variations evolving from French, Swiss, and American styles. Rosette piping became popular as cake decoration tools became more widely accessible in the 1950s, allowing home bakers to bring patisserie-level aesthetics into their kitchens. Today, the rosette cake is a classic—timeless, romantic, and entirely customizable.
Ingredients
For the Cake (Two 8-inch round layers)
- 300 g all-purpose flour
- 350 g granulated sugar
- 250 g unsalted butter, softened
- 6 large eggs (approx. 300 g)
- 240 ml whole milk
- 10 g baking powder
- 5 g salt
- 5 ml vanilla extract
For the Buttercream Frosting (Rosette Piping)
- 500 g unsalted butter, room temperature
- 1,000 g powdered (icing) sugar, sifted
- 60 ml heavy cream
- 15 ml vanilla extract
- Pink gel food coloring (or desired color)
Optional Add-ons
- Small fondant flowers or sugar pearls
- Edible glitter or gold leaf
- Rosewater (to infuse the buttercream for a floral note)
Methodology & Instructions
Step 1: Prepare and Preheat
- Preheat your oven to 175°C (350°F).
- Grease and flour two 8-inch round cake pans, or line them with parchment paper.
Step 2: Make the Cake Batter
- In a large bowl, cream the butter and sugar together using an electric mixer on medium-high speed until pale and fluffy (about 4–5 minutes).
- Add eggs one at a time, beating well after each addition.
- In a separate bowl, whisk together flour, baking powder, and salt.
- Gradually mix the dry ingredients into the wet mixture, alternating with the milk, starting and ending with the dry ingredients.
- Stir in vanilla extract to enhance the aroma and flavor.
Step 3: Bake the Cake
- Divide the batter evenly between the two pans.
- Tap the pans lightly to release air bubbles.
- Bake in the preheated oven for 25–30 minutes or until a toothpick inserted into the center comes out clean.
- Let the cakes cool in the pans for 10 minutes before transferring to a wire rack to cool completely.
Step 4: Make the Buttercream
- In a large bowl, beat the butter with a hand or stand mixer until smooth and creamy.
- Slowly add sifted powdered sugar, mixing on low to avoid dust clouds.
- Add heavy cream and vanilla extract, increasing the speed to high. Beat for about 3–5 minutes until light and fluffy.
- Add pink gel food coloring a drop at a time, mixing thoroughly until the desired shade is achieved.
Tip: For rosewater-flavored frosting, add 1–2 tsp rosewater extract for an elegant floral note.
Step 5: Assemble and Crumb Coat
- Level the cake layers with a serrated knife.
- Place the first layer on a serving plate and spread a generous layer of buttercream on top.
- Add the second cake layer and press gently.
- Apply a thin crumb coat (a light buttercream layer) to trap crumbs. Chill for 15–20 minutes.
Step 6: Final Frosting and Rosette Piping
- Apply a smooth, thicker layer of buttercream over the crumb coat.
- Fit a piping bag with a 1M or 2D star tip.
- Fill the bag with tinted buttercream and begin piping rosettes around the cake:
- Start from the center of each rose and swirl outward in a circular motion.
- Cover the entire cake sides and top, arranging the rosettes close together.
- Fill any gaps with stars or small swirls.
Optional Decorations: Adorn with fondant roses, edible pearls, or shimmering dust for added elegance.
Serving & Storing
- Best served at room temperature to allow the buttercream to soften.
- Can be stored in an airtight container in the refrigerator for up to 5 days.
- Freeze undecorated cake layers wrapped tightly for up to 2 months.
Conclusion: A Cake Made for Lovers
The Rosette Buttercream Cake is not merely dessert—it’s a poetic gesture. Whether you’re baking it for a partner, family celebration, or as a form of self-love, this cake expresses affection and artistry. Each rose you pipe is a whisper of your care, each slice a taste of your heart.
Make it with love, share it with joy, and let the roses bloom not just on the cake, but in the eyes of those you serve.
Would you like me to create a printable PDF version or a recipe card image?