Certainly! Here’s a comprehensive, long-form recipe for Banana Pudding Lush, complete with an introduction, history, ingredients, step-by-step instructions, preparation methods, serving suggestions, and even a whimsical note on “lovers” of this dish.
Banana Pudding Lush: A Southern Dream in Layers
Introduction
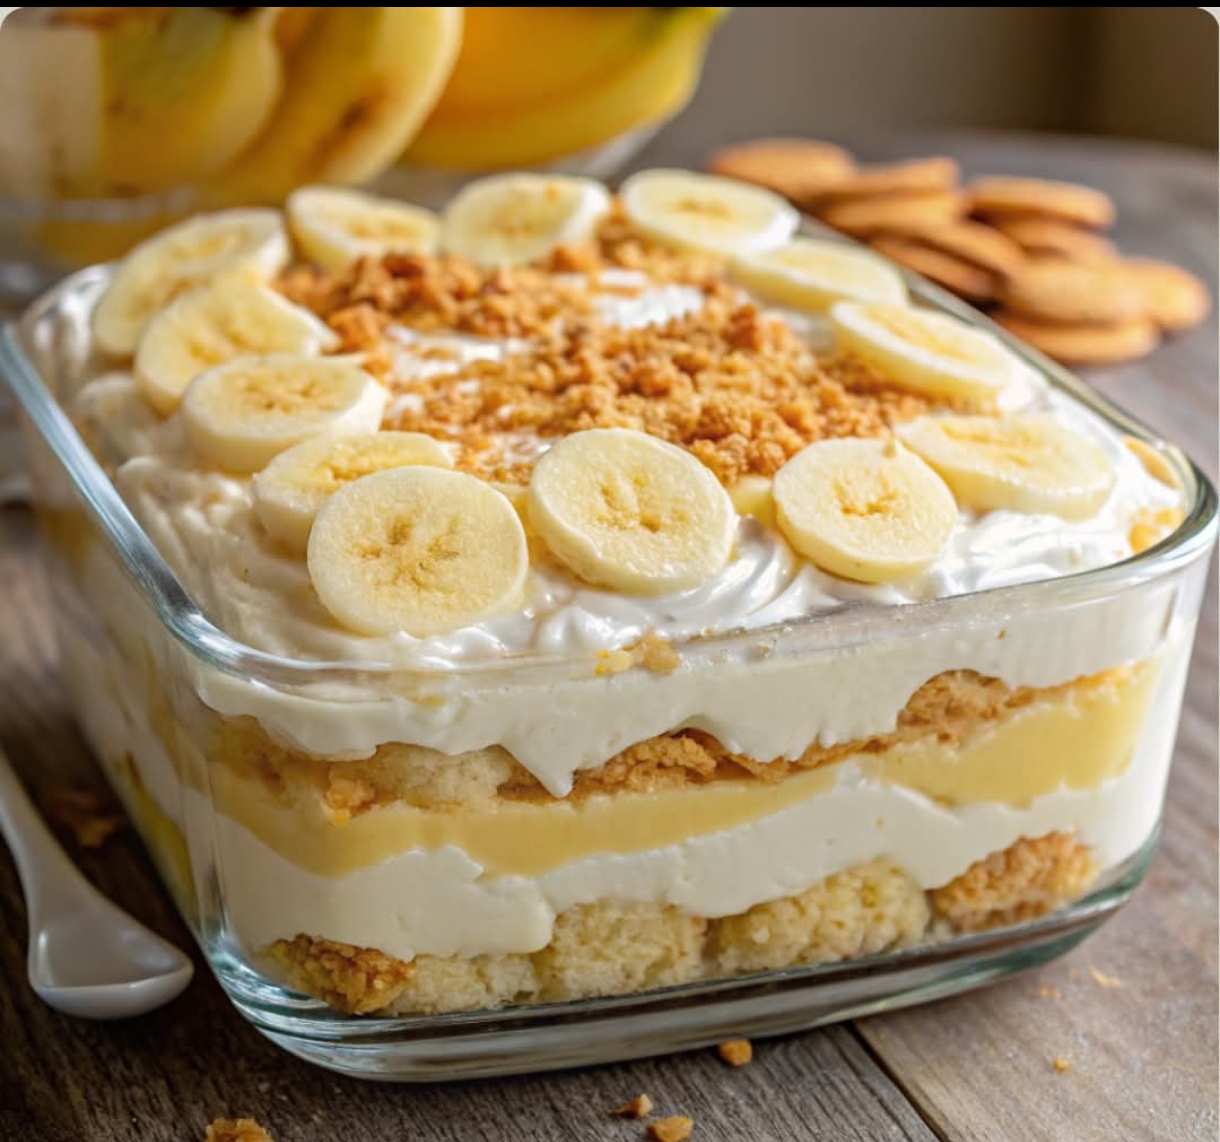
Banana Pudding Lush is a decadent, no-bake layered dessert that combines the nostalgic flavors of old-fashioned banana pudding with the creamy texture of cheesecake and the crunch of crushed vanilla wafers. Originating from the heart of the American South, this dessert has evolved from the classic banana pudding into a more structured, chilled delight known as a “lush” — a category of layered desserts known for their creamy fillings and crumbly bases.
Perfect for picnics, holidays, summer gatherings, or just a sweet treat after dinner, Banana Pudding Lush is adored by all who encounter it — from kids licking whipped topping off their spoons to grandmas proudly presenting it at Sunday potlucks.
A Brief History
The roots of banana pudding in America trace back to the late 19th century when bananas became widely available in the U.S. By the early 20th century, recipes for banana custard or layered banana puddings with sponge cake began to appear in cookbooks. Over time, Nabisco’s vanilla wafers entered the scene, cementing themselves as a staple in the traditional banana pudding.
The concept of a “lush” dessert — with a cookie crust, creamy layers, and whipped topping — gained popularity in the 1970s and 1980s. Combining both traditions, Banana Pudding Lush brings nostalgia and innovation to the table.
Ingredients
For the Crust:
- 2½ cups crushed vanilla wafers (about 1 regular-sized box)
- ½ cup (1 stick) unsalted butter, melted
For the Cream Cheese Layer:
- 8 oz cream cheese, softened to room temperature
- 1 cup powdered sugar
- 1 (8 oz) container whipped topping (such as Cool Whip), divided
For the Banana Pudding Layer:
- 2 (3.4 oz) packages instant banana pudding mix
- 3 cups cold whole milk
For the Topping:
- 2 ripe bananas, sliced into coins
- Remaining whipped topping
- Crushed vanilla wafers (for garnish)
Equipment Needed
- 9×13-inch glass baking dish
- Electric hand mixer or stand mixer
- Mixing bowls
- Silicone spatula
- Whisk
- Plastic wrap
Method and Instructions
Step 1: Prepare the Crust
- In a large mixing bowl, combine the crushed vanilla wafers and melted butter.
- Stir until all the crumbs are moistened.
- Press the mixture evenly and firmly into the bottom of a 9×13-inch glass baking dish using the bottom of a measuring cup or glass.
- Chill in the refrigerator for 15–20 minutes to set.
Step 2: Make the Cream Cheese Layer
- In a separate bowl, beat the softened cream cheese and powdered sugar together using a mixer until light and fluffy.
- Gently fold in half of the whipped topping (about 4 oz) using a spatula until well combined.
- Spread this layer evenly over the chilled crust, smoothing the top.
- Return the dish to the refrigerator to chill while you prepare the pudding.
Step 3: Prepare the Banana Pudding
- In a clean bowl, whisk together the banana pudding mix and cold milk.
- Beat for 2–3 minutes until the mixture starts to thicken slightly.
- Let it sit for about 2 minutes to firm up further.
Step 4: Assemble the Layers
- Gently pour or spoon the pudding over the cream cheese layer.
- Use a spatula to spread the pudding out into an even layer, being careful not to disturb the cream cheese mixture.
- Cover the dish with plastic wrap and refrigerate for at least 3 hours (preferably overnight) so the dessert fully sets.
Step 5: Add the Topping
- Just before serving, spread the remaining whipped topping evenly over the pudding layer.
- Arrange banana slices across the top in a decorative pattern.
- Sprinkle crushed vanilla wafers generously over the top for texture and crunch.
Step 6: Serve and Store
- Chill for at least 1 hour more after topping for best results.
- Slice into squares using a sharp knife and serve cold.
- Store leftovers covered in the refrigerator for up to 3 days.
Tips & Variations
- Banana freshness: Add banana slices just before serving to prevent browning.
- Layer lovers: Add an extra layer of sliced bananas between the cream cheese and pudding for added fruitiness.
- Make it from scratch: If you prefer homemade pudding, feel free to cook your own banana custard — just ensure it’s cooled before layering.
- Nutty twist: Add a sprinkle of toasted pecans or walnuts over the top for a Southern crunch.
Lovers of Banana Pudding Lush
This dessert has a fanbase as wide as the Mississippi. Whether it’s children enchanted by its creamy sweetness or adults appreciating the nostalgic flavors of their childhood, Banana Pudding Lush has a magnetic charm. It’s beloved by:
- The Southern sweetheart, who sees it as a staple at every family reunion.
- The summer hostess, who loves a no-bake, make-ahead dessert that disappears at parties.
- The banana aficionado, who believes every good dessert should have ripe bananas in it.
- The nostalgic foodie, who remembers banana pudding from grandma’s kitchen.
Conclusion
Banana Pudding Lush is more than just a dessert — it’s a story told in layers. It brings together history, flavor, and heart. The buttery vanilla wafer crust, the tangy cream cheese layer, the smooth banana pudding, and the fluffy whipped topping create a perfect harmony. Whether shared among friends or savored in a quiet moment alone, this lush lives up to its name — rich, indulgent, and impossible to resist.
Serve it once, and it’ll be loved forever.
Would you like a printable version or a shareable recipe card for this?