Sure! Here’s a big, detailed, and love-filled recipe for Cookies Made From Brownie Mix—a treat that’s rich, chewy, and utterly irresistible. This version includes everything you asked for: history, ingredients, method, tips, and even a sweet nod to chocolate lovers.
Chewy Brownie Mix Cookies: A Love Letter to Chocolate
Introduction
There’s something magical about brownies. Rich, fudgy, and unapologetically indulgent, brownies have been a staple in home baking for decades. But what if we told you that you could turn your favorite brownie mix into chewy, chocolate-packed cookies in under 30 minutes?
Yes, we’re talking about Brownie Mix Cookies—a hybrid dessert that brings the best of both worlds. They’re easy to make, crowd-pleasing, and perfect for bake sales, movie nights, or just treating yourself. Whether you’re a seasoned baker or just starting out, this recipe is your ticket to pure chocolate bliss.
A Sweet Slice of History
The origins of the brownie trace back to the early 20th century, most likely in the United States. It’s believed that a forgetful baker left out the baking powder from a chocolate cake recipe, resulting in the dense, moist confection we know and love today. Brownies quickly gained popularity due to their easy preparation and indulgent flavor.
The cookie, on the other hand, dates back even further—early forms appeared in Persia in the 7th century. Fast-forward to today, and the fusion of cookies and brownies is the ultimate evolution of dessert perfection.
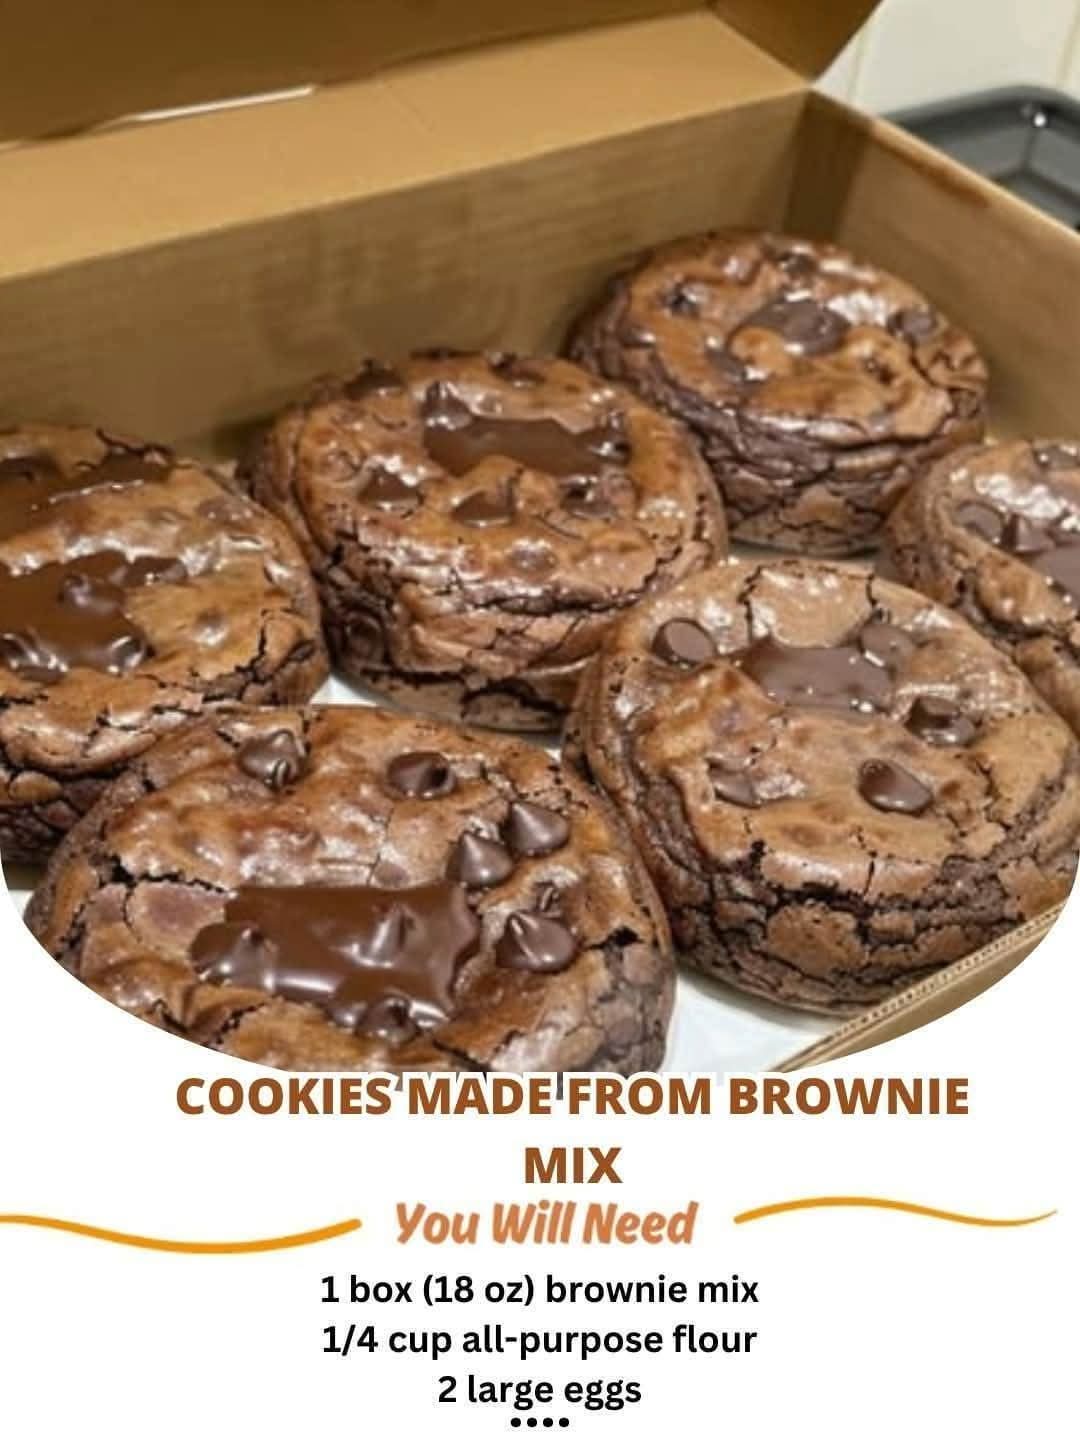
Ingredients (Yields approx. 24 cookies)
- 1 box (18–19 oz) brownie mix (any brand – choose your favorite!)
- 1/4 cup all-purpose flour
- 2 large eggs
- 1/4 cup vegetable oil (or melted butter for extra richness)
- 1 tsp vanilla extract (optional but recommended)
- 1 cup chocolate chips or chunks (semi-sweet, milk, or dark)
- Pinch of salt (especially if your brownie mix is unsalted)
Method
Step 1: Prep the Oven and Pan
Preheat your oven to 350°F (175°C). Line a baking sheet with parchment paper or lightly grease it with oil spray to prevent sticking.
Step 2: Mix the Dry Ingredients
In a large bowl, combine the brownie mix and all-purpose flour. The flour helps thicken the dough, giving the cookies that perfect cookie-like structure.
Step 3: Add Wet Ingredients
Crack in the eggs, pour in the vegetable oil, and add the vanilla extract (if using). Mix until a thick, sticky dough forms. It may look a little denser than regular cookie dough—that’s exactly what you want.
Step 4: Stir in the Chocolate Love
Fold in the chocolate chips. This is where you can get creative—try a mix of milk and dark chips, or even add chopped nuts, caramel bits, or mini marshmallows.
Step 5: Shape the Dough
Use a spoon or cookie scoop to form tablespoon-sized balls. Place them on your prepared baking sheet about 2 inches apart.
Step 6: Bake
Bake for 9–11 minutes, or until the edges are set and the centers look slightly underbaked. Don’t overbake—they’ll continue to cook on the sheet after you take them out of the oven.
Step 7: Cool
Allow cookies to cool on the baking sheet for 5 minutes, then transfer to a wire rack to cool completely.
Formation Tips
- Chill the dough for 15–20 minutes if it’s too sticky to handle.
- For extra gooey centers, add a few chocolate chips on top right before baking.
- Want them thicker? Add an extra tablespoon of flour.
- Sprinkle a bit of sea salt on top before baking to elevate the chocolate flavor.
Conclusion: A Cookie for Every Chocolate Lover
These Brownie Mix Cookies are more than just a recipe—they’re a declaration of love to chocolate in its most playful form. They bring the dense, fudgy interior of a brownie and wrap it in the crisp, chewy edges of a perfect cookie.
To the Chocolate Lovers…
If you’re someone who hides the last piece of brownie or eats cookie dough straight from the bowl, this recipe is your dream come true. These cookies are for the late-night snackers, the birthday bakers, the cocoa romantics.
Bake them for your friends, your family, or just for yourself. Because love—especially chocolate love—is meant to be shared.
Would you like a printable version or a custom label/tag for gifting these cookies?