Absolutely! Here’s a long-form, rich, flavorful Pineapple Heaven Cake recipe — complete with everything you asked for: an introduction, full ingredient list, step-by-step instructions, cooking method, historical background, inspiration, and a sweet conclusion for dessert lovers.
Pineapple Heaven Cake — A Tropical Delight You’ll Never Forget
Introduction
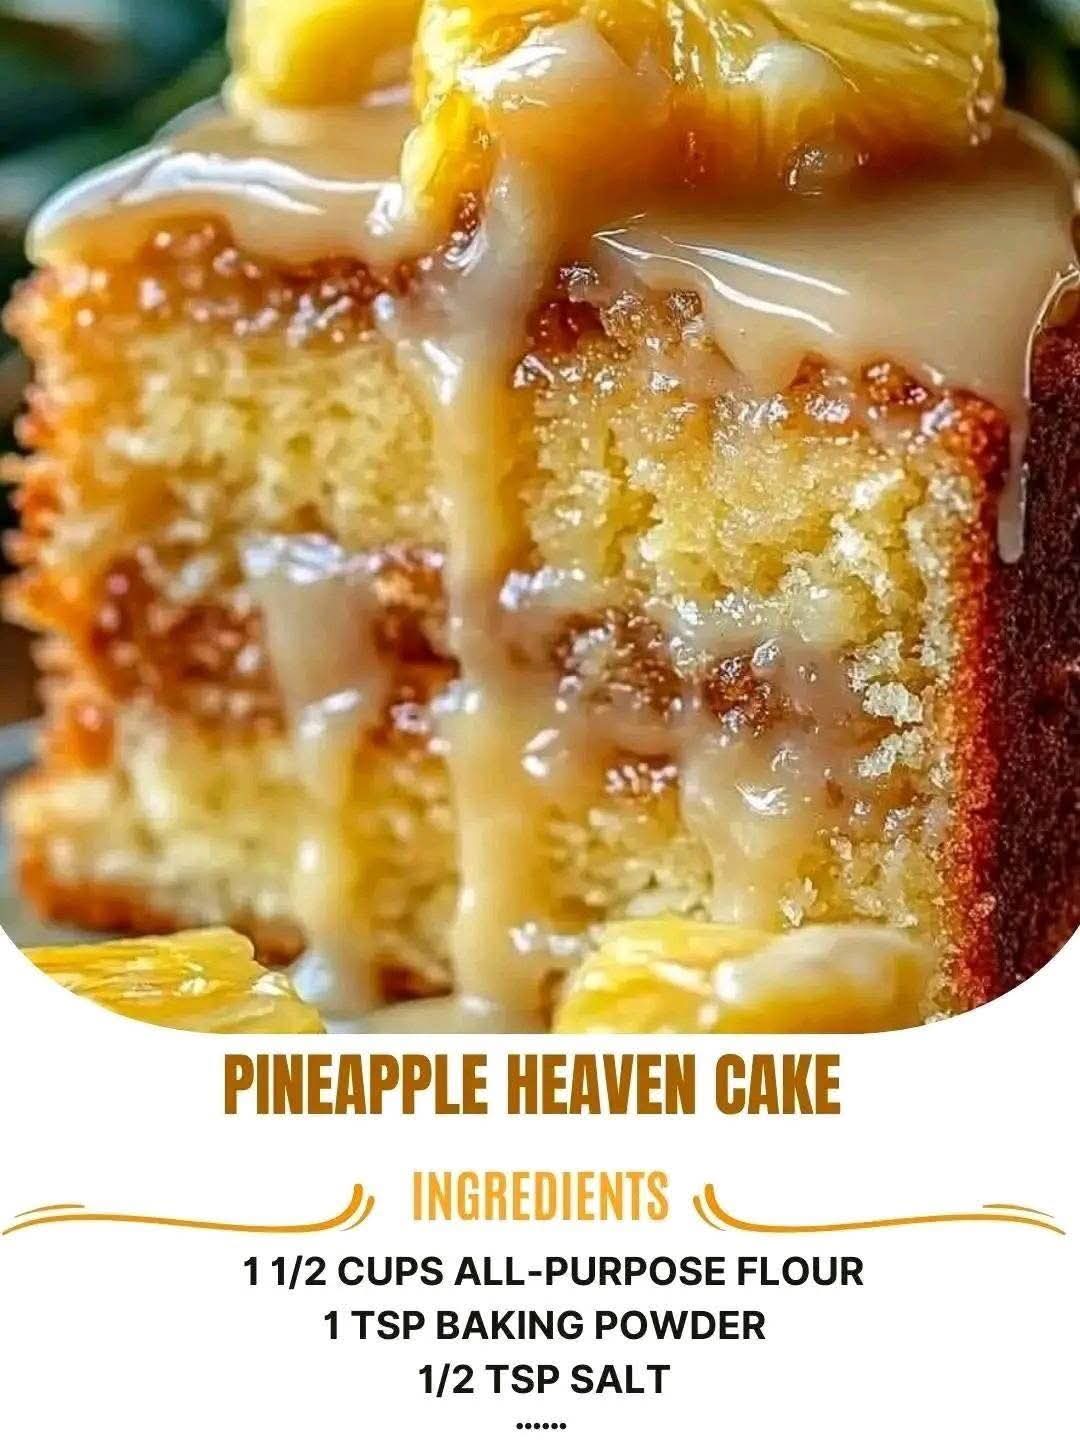
The name says it all: Pineapple Heaven Cake. It’s the kind of dessert that makes the room go silent with the first bite. Moist, tender crumb, infused with bright, tangy pineapple and kissed with buttery sweetness. This cake takes humble ingredients and elevates them into something divine — perfect for sunny afternoons, family gatherings, potlucks, or just treating yourself to a moment of joy. And the best part? It’s easy enough for beginners, impressive enough for pros.
History & Formation
Pineapple has been used in baking since the early 1900s, especially in tropical regions and American kitchens after canned pineapple became widely available. Pineapple upside-down cake is the best-known classic, but Pineapple Heaven Cake is a softer, fluffier evolution. Inspired by pound cakes, snack cakes, and old-fashioned yellow cakes, it merges the richness of butter cake with the zing of fresh pineapple. It’s a beloved hybrid of tradition and tropical charm.
Ingredients
Dry Ingredients:
- 1 1/2 cups all-purpose flour
- 1 tsp baking powder
- 1/2 tsp salt
Wet Ingredients:
- 1/2 cup unsalted butter, softened
- 1 cup granulated sugar
- 2 large eggs
- 1/2 tsp vanilla extract
- 1/2 cup crushed pineapple (canned or fresh, well-drained — reserve juice)
- 1/4 cup pineapple juice (from the can or fresh)
- Optional: 1/4 cup sour cream or plain yogurt (for extra moisture)
For the Pineapple Glaze or Topping (optional but heavenly):
- 2 tbsp butter
- 1/3 cup brown sugar
- 1/2 cup crushed pineapple
- Pinch of cinnamon or nutmeg (optional)
Instructions & Method
- Preheat the oven:
Set your oven to 350°F (175°C). Grease and flour an 8×8 inch square or round baking dish. - Mix dry ingredients:
In a medium bowl, whisk together flour, baking powder, and salt. Set aside. - Cream the butter and sugar:
In a large mixing bowl, beat the softened butter and granulated sugar until light and fluffy (about 2–3 minutes). This is crucial for a soft, airy texture. - Add eggs and vanilla:
Beat in the eggs one at a time, mixing well after each. Stir in vanilla extract. - Incorporate pineapple and juice:
Mix in the crushed pineapple and pineapple juice. Add sour cream or yogurt if using — it gives a slight tang and makes the cake extra moist. - Combine wet and dry:
Gradually add the dry ingredients to the wet mixture. Stir until just combined — don’t overmix. - Pour and smooth:
Pour the batter into your prepared pan and smooth the top with a spatula. - Optional glaze/topping (caramelized pineapple magic):
In a small saucepan, melt butter and brown sugar until bubbling. Stir in crushed pineapple and a pinch of cinnamon. Spoon gently over the batter before baking OR add after baking for a glossy finish. - Bake:
Bake for 35–40 minutes or until a toothpick inserted in the center comes out clean. Don’t overbake — the key is moistness! - Cool and serve:
Let the cake cool slightly before slicing. Serve warm, chilled, or room temp — with whipped cream, ice cream, or just as it is.
Why Cake Lovers Can’t Get Enough
- Tropical Dream: That sweet-tart pineapple hits all the right notes.
- Texture Heaven: Buttery, soft, moist — every bite feels luxurious.
- No Fuss, All Flavor: One bowl, simple method, maximum payoff.
- Endlessly Adaptable: Add coconut flakes, a rum glaze, or chopped nuts for variation.
Conclusion
Pineapple Heaven Cake is more than dessert — it’s comfort, celebration, and sunshine in every bite. It brings people together, turns ordinary moments into memories, and satisfies the soul as much as the stomach. Whether you make it once or weekly, one thing’s for sure — you’ll never want to lose this recipe.
Love recipes like this? Save, share, and keep baking joy! Your spoon deserves this journey.
Would you like a printable recipe card or a short video script for posting this online?