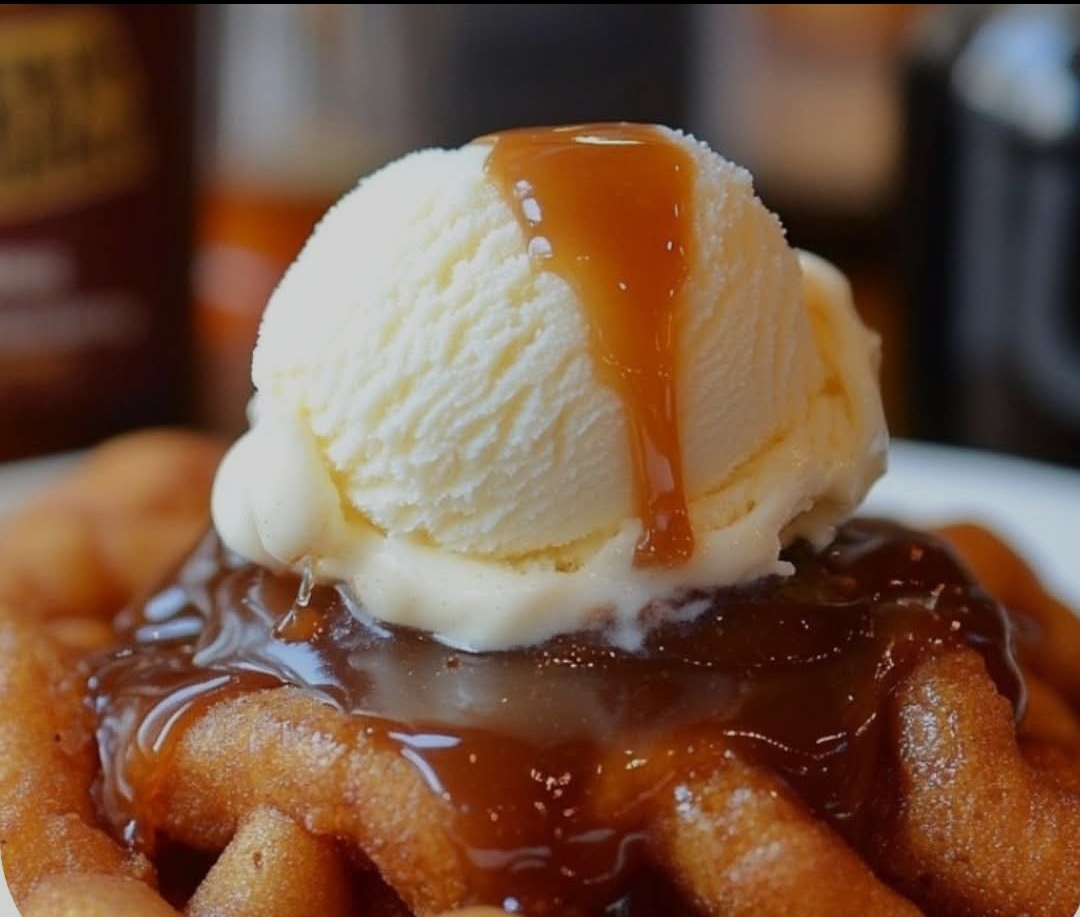
Sure! Here’s a full, detailed write-up for Deep Fried Root Beer Floats, including everything you requested—from an engaging introduction and recipe, to historical context, nutritional info, and more.
Deep Fried Root Beer Floats: A Crispy, Creamy Twist on a Classic
Introduction
What happens when you combine the fizzy nostalgia of a root beer float with the indulgent crunch of deep-fried dough? You get Deep Fried Root Beer Floats, a carnival-worthy dessert that captures the flavors of summer in a warm, crispy shell. These golden-brown bites are infused with root beer flavor and paired with a creamy vanilla center—perfect for fairs, parties, or anyone who loves pushing culinary creativity to sweet extremes.
Ingredients
Batter:
- 1 large egg
- 3/4 cup root beer (not diet; ideally with real cane sugar)
- 1 tsp vegetable oil
- 4.75 oz all-purpose flour (about 1 1/2 cups)
- 2 tbsp granulated sugar
- 3/4 tsp baking powder
- 1/4 tsp salt
For Frying and Serving:
- 1 quart vegetable oil (for frying)
- Vanilla ice cream (scooped and frozen solid)
- Optional: powdered sugar, whipped cream, maraschino cherries for garnish
Instructions
Step 1: Prepare the Ice Cream Balls
- Scoop out small balls of vanilla ice cream using a cookie scoop.
- Place them on a parchment-lined tray and freeze until completely firm, at least 2 hours.
Step 2: Make the Root Beer Batter
- In a mixing bowl, whisk the egg until light and frothy.
- Add the root beer and vegetable oil; mix well.
- In a separate bowl, combine the flour, sugar, baking powder, and salt.
- Gradually whisk the dry ingredients into the wet until smooth and lump-free.
- Refrigerate batter for 15–20 minutes to help it thicken slightly.
Step 3: Heat the Oil
- In a deep pot or fryer, heat oil to 350°F (175°C).
- Keep a thermometer nearby to monitor temperature.
Step 4: Fry the Ice Cream
- One at a time, dip frozen ice cream balls into the batter, coating fully.
- Carefully lower into the hot oil. Fry until golden brown—about 20–30 seconds.
- Remove with a slotted spoon and place on paper towels to drain.
Step 5: Serve
- Dust with powdered sugar or drizzle with extra root beer syrup.
- Serve immediately with whipped cream and a cherry on top!
Methods
- Flash freezing ensures the ice cream doesn’t melt during frying.
- Batter coating seals the ice cream to create a crispy shell.
- High-temperature frying quickly browns the batter while keeping the inside cold.
History of the Root Beer Float
The root beer float dates back to the late 1800s, when Frank J. Wisner of Colorado combined vanilla ice cream with root beer, creating a fizzy, creamy treat he called the “Black Cow.” Over time, it became a symbol of American soda fountain culture. Deep-frying the float is a modern twist, likely born in the world of food festivals and state fairs where creativity knows no bounds.
Benefits of Deep Fried Root Beer Floats
- Sensory joy: Combines hot and cold, crispy and creamy, fizzy and smooth.
- Nostalgia factor: Appeals to memories of soda fountains, fairs, and summer fun.
- Surprise element: It’s a conversation starter and a culinary showstopper.
Formation
This dessert is formed by wrapping a light, airy root beer batter around ultra-cold scoops of vanilla ice cream. The quick fry forms a crust, sealing in the creamy center without melting it. The result is a donut-like shell surrounding cold, classic float flavor.
Nutrition (per serving, approx. 1 piece)
- Calories: 270
- Fat: 14g
- Saturated Fat: 6g
- Carbohydrates: 32g
- Sugars: 15g
- Protein: 3g
- Sodium: 180mg
Note: Values vary depending on serving size and additional toppings.
Conclusion
Deep Fried Root Beer Floats are more than just dessert—they’re a celebration of fun, flavor, and food experimentation. Whether you’re impressing guests at a party or indulging in a nostalgic craving, this unique recipe delivers joy in every bite.
Lovers of Deep Fried Root Beer Floats
This dessert will be adored by:
- Carnival food lovers
- Ice cream enthusiasts
- Root beer fans
- Food adventurers
- Home cooks who love impressing a crowd
Would you like a printable recipe card or a visual step-by-step guide to go with it?
