Cherries in the Snow – No-Bake Dessert Delight! 🎉🍰
Introduction: If you’re craving a dessert that’s both incredibly easy to make and delightfully decadent, then Cherries in the Snow is the perfect treat for you! This no-bake dessert is a fluffy, creamy masterpiece with a delicate balance of flavors. The lightness of angel food cake layers combined with the tangy cream cheese filling and the sweet, luscious cherry pie topping creates a dessert that’s as beautiful as it is delicious.
Perfect for family gatherings, holidays, or any occasion that calls for a sweet ending, Cherries in the Snow offers a refreshing break from traditional heavy desserts. Its stunning appearance, with its layers of white, fluffy cake and creamy filling, topped with vibrant red cherries, will have everyone at your table asking for the recipe. Plus, its no-bake nature makes it easy to prepare ahead of time, leaving you free to enjoy your event.
History:
Cherries in the Snow is a dessert that blends the best of simple American treats with a twist. While the exact origins of this dessert remain somewhat unclear, it’s rooted in the no-bake dessert tradition that became popular in the 20th century, particularly during the post-WWII era when quick, easy desserts gained popularity. These desserts were a welcome alternative to labor-intensive baked goods, especially in summer when turning on the oven was less appealing.
The pairing of creamy cheese fillings with angel food cake or sponge cake is a classic American technique, found in many desserts, from trifles to layered pies. Cherries, especially in pie form, have been a common fruit topping for desserts throughout history, and their vibrant color makes them an ideal garnish or finishing touch for creamy, white desserts like Cherries in the Snow.
This treat is a modern take on older layered dessert concepts and represents the simple, comfort-driven desserts that became popular throughout the mid-20th century in America. It’s a dessert that taps into the nostalgia of family meals, holiday dinners, and summer picnics.
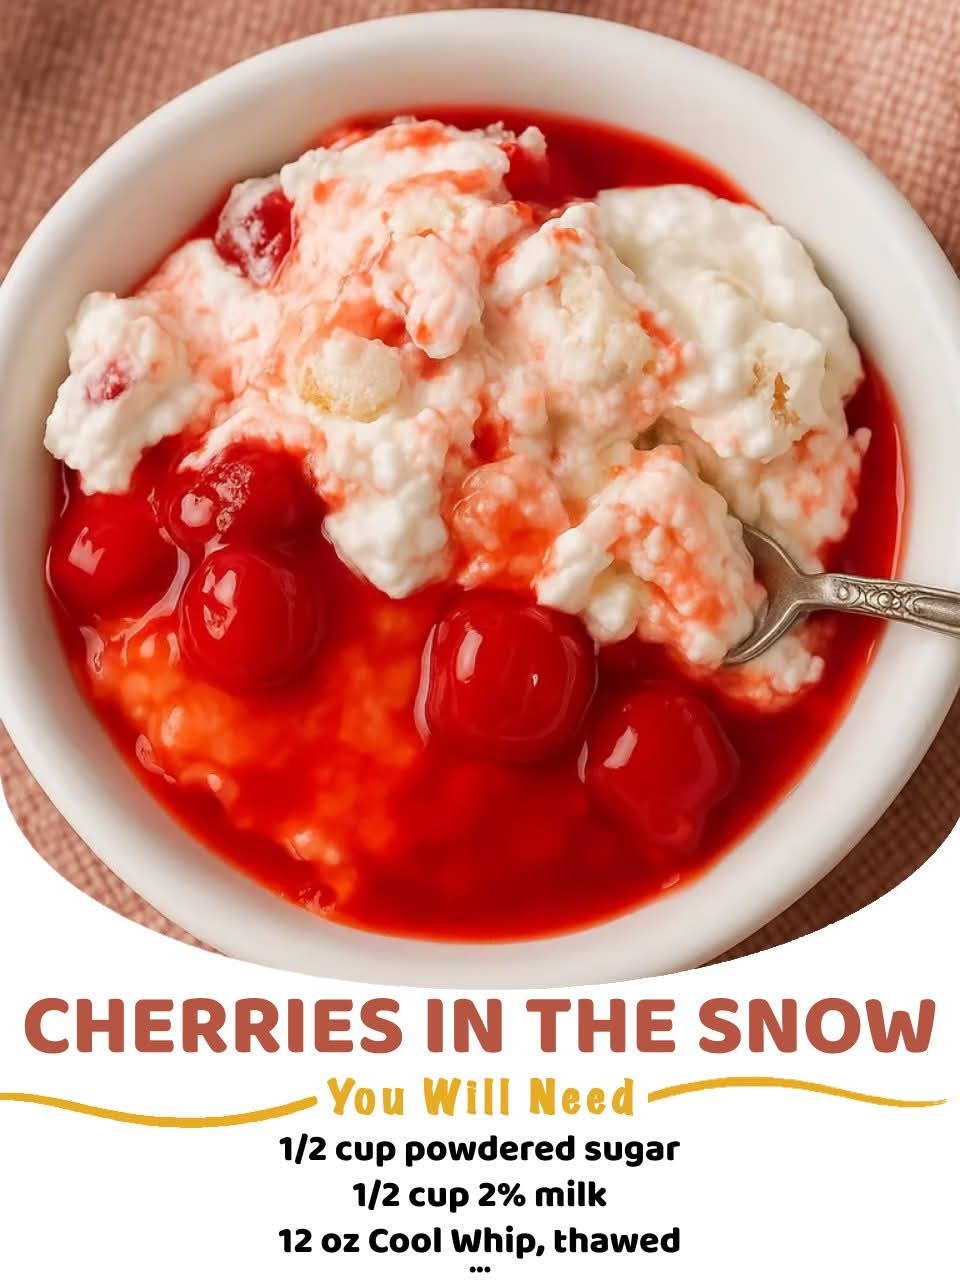
🍒 Ingredients:
For the Layers:
- 1 store-bought angel food cake (or homemade equivalent)
- 8 oz cream cheese, room temperature
- 1/2 cup powdered sugar
- 1/2 cup 2% milk
- 1 1/2 cups heavy whipping cream
- 1 tsp vanilla extract
For the Cherry Topping:
- 1 can (21 oz) cherry pie filling (or fresh cherries cooked in syrup)
Optional Garnish:
- Shaved coconut (for added “snow” effect)
- Fresh mint leaves (optional, for decoration)
🍴 Instructions:
1. Prepare the Angel Food Cake:
- If you’re using a store-bought angel food cake, simply slice it into 1-inch thick pieces. If you prefer homemade, you can bake your angel food cake ahead of time and allow it to cool before slicing.
- Arrange the cake slices in the bottom of a 9×13-inch glass baking dish, ensuring that they cover the base completely. This will serve as the first layer of your dessert.
2. Make the Cream Cheese Filling:
- In a large mixing bowl, beat the cream cheese with an electric mixer until it’s smooth and creamy, about 2 minutes.
- Add the powdered sugar and vanilla extract, and beat until well combined.
- Slowly add the 2% milk while continuing to mix, making sure the filling stays smooth and creamy.
- In a separate bowl, whip the heavy cream with an electric mixer until soft peaks form.
- Gently fold the whipped cream into the cream cheese mixture. Be sure to fold carefully so that the whipped cream stays light and fluffy.
- Once combined, spread the cream cheese mixture evenly over the layer of angel food cake in your baking dish. This creates the second, creamy layer.
3. Add the Cherry Topping:
- Open the can of cherry pie filling and stir it to ensure the cherries are evenly coated in syrup.
- Spoon the cherry pie filling evenly over the cream cheese filling, covering it with a beautiful red topping. You can also use fresh cherries that have been simmered in sugar syrup for a fresher option.
4. Optional Garnish:
- For a festive touch, sprinkle the top with shredded coconut to give the appearance of “snow.” This adds texture and a bit of tropical sweetness that complements the creamy layers.
- Garnish with a few fresh mint leaves or a light dusting of powdered sugar for extra flair.
5. Chill the Dessert:
- Cover the dish with plastic wrap or a lid, and refrigerate for at least 4 hours, or overnight if you prefer. The dessert needs time to chill and set properly.
6. Serve and Enjoy:
- Once chilled, slice into squares and serve. The cake should be light and fluffy with a creamy filling and a sweet cherry topping that melts in your mouth.
- If you like, add more whipped cream or additional cherries on top for an extra decadent touch.
Methods to Perfect Your Cherries in the Snow:
- Use Cold Cream Cheese: Make sure the cream cheese is at room temperature before mixing. Cold cream cheese can cause the filling to be lumpy, which you want to avoid.
- Whip the Cream to Soft Peaks: When whipping the heavy cream, ensure you only whip it to soft peaks to keep the cream light and airy. Over-whipped cream can turn into butter and be too heavy for the dessert.
- Layering Tip: To make your layers more visually appealing, you can arrange the angel food cake slices neatly or tear them into smaller pieces for a more rustic, layered look.
- Chill for Proper Setting: Don’t skip the chilling step—this dessert needs time to set so that the layers stay intact when you cut and serve it.
- Customize the Topping: If you don’t want to use canned cherry pie filling, you can make your own cherry topping by simmering fresh cherries with sugar and a little water to make a syrup.
Conclusion:
Cherries in the Snow is a wonderfully light, no-bake dessert that combines the best of creamy textures and fruity sweetness. With its layers of soft angel food cake, tangy cream cheese filling, and a vibrant cherry topping, it’s a dessert that’s not only easy to make but also sure to be a hit at any occasion. The lightness of the cake and filling make it feel refreshing, and the cherry topping adds the perfect burst of sweetness. This treat is a crowd-pleaser, perfect for family gatherings, summer picnics, and holiday meals alike.
Lovers of this Dessert:
- Cheesecake Lovers: If you love the creamy, tangy flavor of cheesecake but want a lighter, no-bake version, this dessert is for you.
- Fruit Lovers: The cherry topping adds the perfect amount of fruity sweetness and contrast to the rich cream cheese filling.
- No-Bake Dessert Fans: For those who prefer not to bake, this recipe is a fantastic alternative, and it’s still just as impressive as any baked dessert.
- Easy Entertaining Enthusiasts: This dessert is ideal for anyone who loves quick and easy recipes that don’t sacrifice flavor or presentation. Perfect for potlucks, dinner parties, or casual gatherings.
Lovers of Baking and Cooking:
- Fans of Simple Desserts: If you’re a lover of straightforward, easy-to-make desserts that don’t require a lot of time or ingredients, this one will be your go-to recipe.
- Lovers of Layered Desserts: If you enjoy creating beautiful layered desserts that are visually appealing and delicious, Cherries in the Snow is a perfect choice to experiment with. The layers of creaminess, cake, and fruit make it a great dessert for impressing your guests without complicated steps.