Sure! Here’s a complete, long-form, detailed recipe for a No-Bake Banana Split Cake, with everything you asked for—introduction, history, ingredients, step-by-step methods, tips, and even a romantic touch for food lovers. Let’s make this delicious treat unforgettable!
No-Bake Banana Split Cake: A Love Letter to Summer Desserts
Introduction
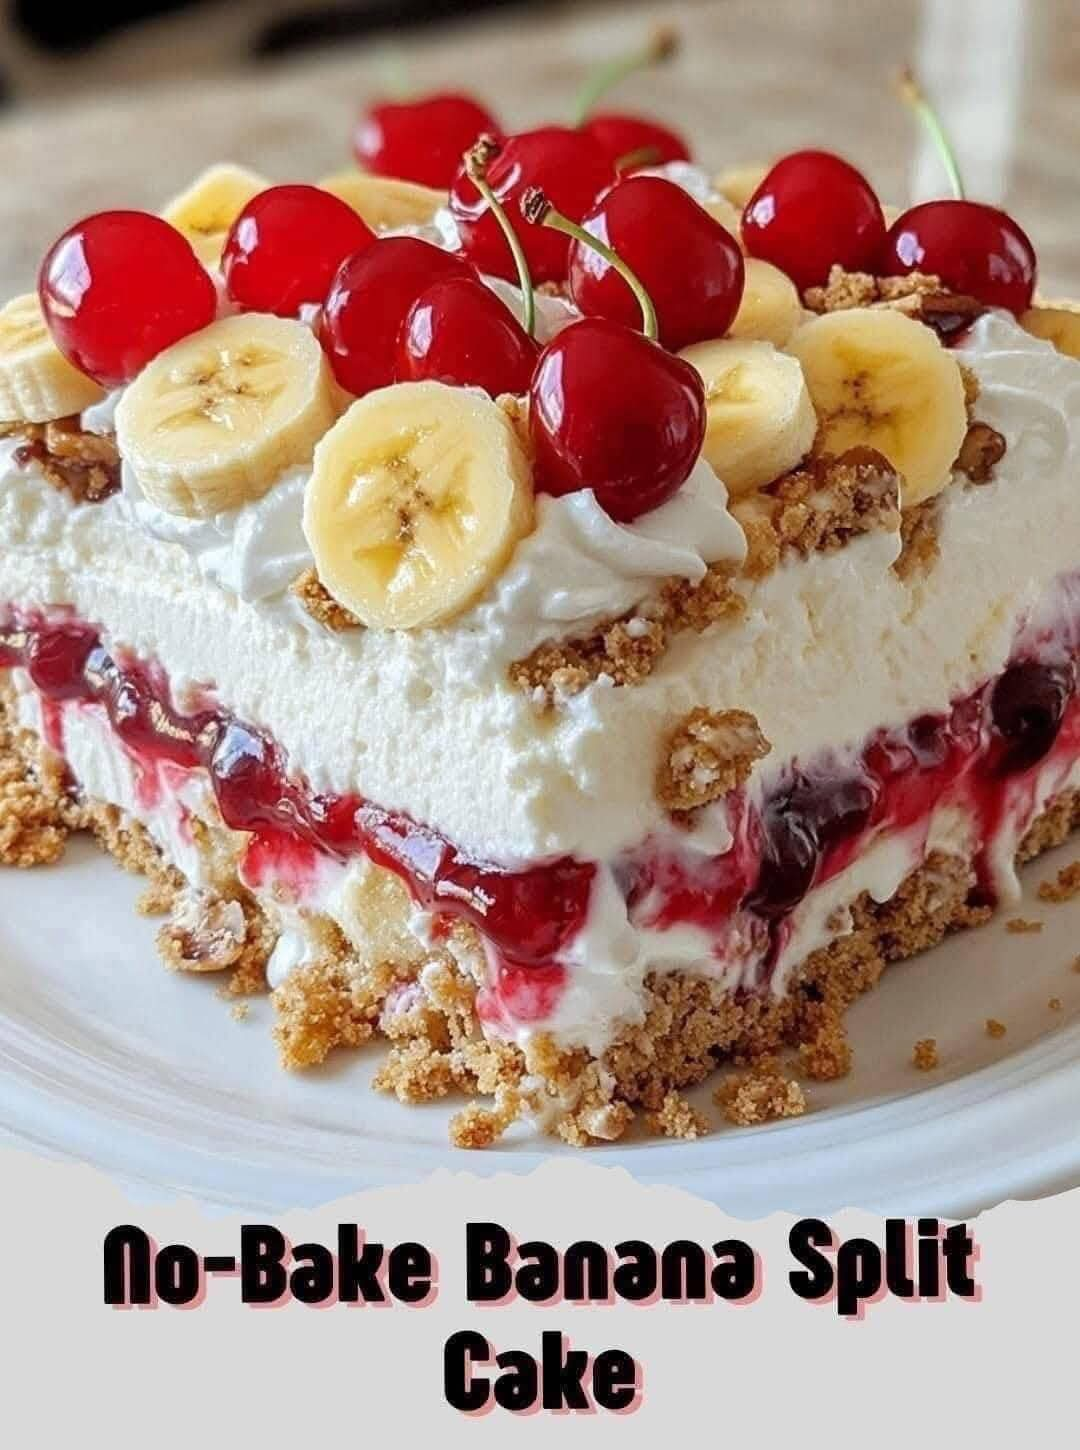
The No-Bake Banana Split Cake is a delightful fusion of nostalgia and indulgence. It’s a dessert that transports you straight to warm summer nights, dripping ice cream cones, and childhood memories of banana splits shared with loved ones. But instead of the traditional scoop-and-top version, this recipe transforms those classic flavors into a luscious layered cake—no oven required. Creamy, fruity, crunchy, and sweet—this dish is truly a celebration of love, flavor, and simplicity.
A Little History
The banana split originated in the early 1900s, famously attributed to a young pharmacist in Latrobe, Pennsylvania, named David Strickler. What started as an extravagant twist on the traditional ice cream sundae quickly became a favorite across American soda fountains. Over time, bakers found new ways to reimagine the classic combo of bananas, chocolate, pineapple, whipped cream, and cherries, leading to this marvelous no-bake version.
Ingredients
For the Crust:
- 2 cups graham cracker crumbs
- ½ cup unsalted butter, melted
For the Cream Layer:
- 8 oz (1 package) cream cheese, softened
- ¼ cup granulated sugar
- 1 tbsp lemon juice
- 1 tsp vanilla extract
- 1 container (8 oz) whipped topping (like Cool Whip)
For the Layers:
- 4 ripe bananas, sliced
- 1 can (20 oz) crushed pineapple, drained
- 2 cups strawberries, sliced
- 1 container (8 oz) whipped topping, for topping layer
- 1 cup chopped walnuts or pecans
- Chocolate syrup, for drizzling
- Maraschino cherries, for garnish
Method & Instructions
1. Forming the Crust
In a mixing bowl, combine graham cracker crumbs and melted butter. Press the mixture into the bottom of a 9×13 inch baking dish to form a firm crust. Place in the fridge while preparing the next layer.
2. Making the Cream Cheese Layer
In a medium bowl, beat the softened cream cheese with sugar, lemon juice, and vanilla until smooth. Fold in one container of whipped topping gently. Spread this over the chilled crust evenly.
3. Building the Layers of Love
- Banana Layer: Arrange banana slices evenly over the cream cheese layer.
- Pineapple Layer: Spread the well-drained crushed pineapple over the bananas.
- Strawberry Layer: Add sliced strawberries on top of the pineapple.
4. Final Topping
Spread the remaining whipped topping evenly over the fruit layers. Sprinkle generously with chopped nuts. Drizzle with chocolate syrup in swirls or zigzags, and finally, dot the top with maraschino cherries—each like a kiss sealing the cake with love.
5. Chill to Set
Refrigerate for at least 4 hours, preferably overnight. This allows the flavors to meld beautifully, and the structure to hold.
Formation Tips
- Always drain the pineapple thoroughly to avoid a soggy dessert.
- Use ripe but firm bananas to prevent them from browning too quickly.
- Feel free to get creative—add a layer of sliced kiwi, mango, or even a light chocolate mousse.
For Lovers of Food and Romance
This cake is perfect for anniversaries, date nights, or a sweet surprise for someone special. Imagine two spoons, one plate, and endless smiles. Each layer represents something deeper: the solid crust is your foundation, the cream is comfort, the fruit is fun, and the topping? Pure passion.
Want to make it even more romantic? Serve with a scoop of ice cream and share it while watching an old romantic movie. Trust me—dessert never felt more like love.
Conclusion
The No-Bake Banana Split Cake isn’t just a dessert—it’s a feeling. A delightful journey through layers of flavor, texture, and emotion. Whether you’re making it for a gathering or just for two, it promises to bring joy, sweetness, and a little bit of nostalgia to your table.
So don’t lose this recipe—share it, cherish it, and let it become a part of your own love story.
Want a printable version or an image-based recipe card too? I can make that for you!