Sure! Here’s a long, detailed, and indulgent recipe for the Heavenly Chocolate Hazelnut Ice Cream Cake, including everything from its history to how it wins hearts. Sit back and get ready for a delicious read—and an even more delicious dessert!
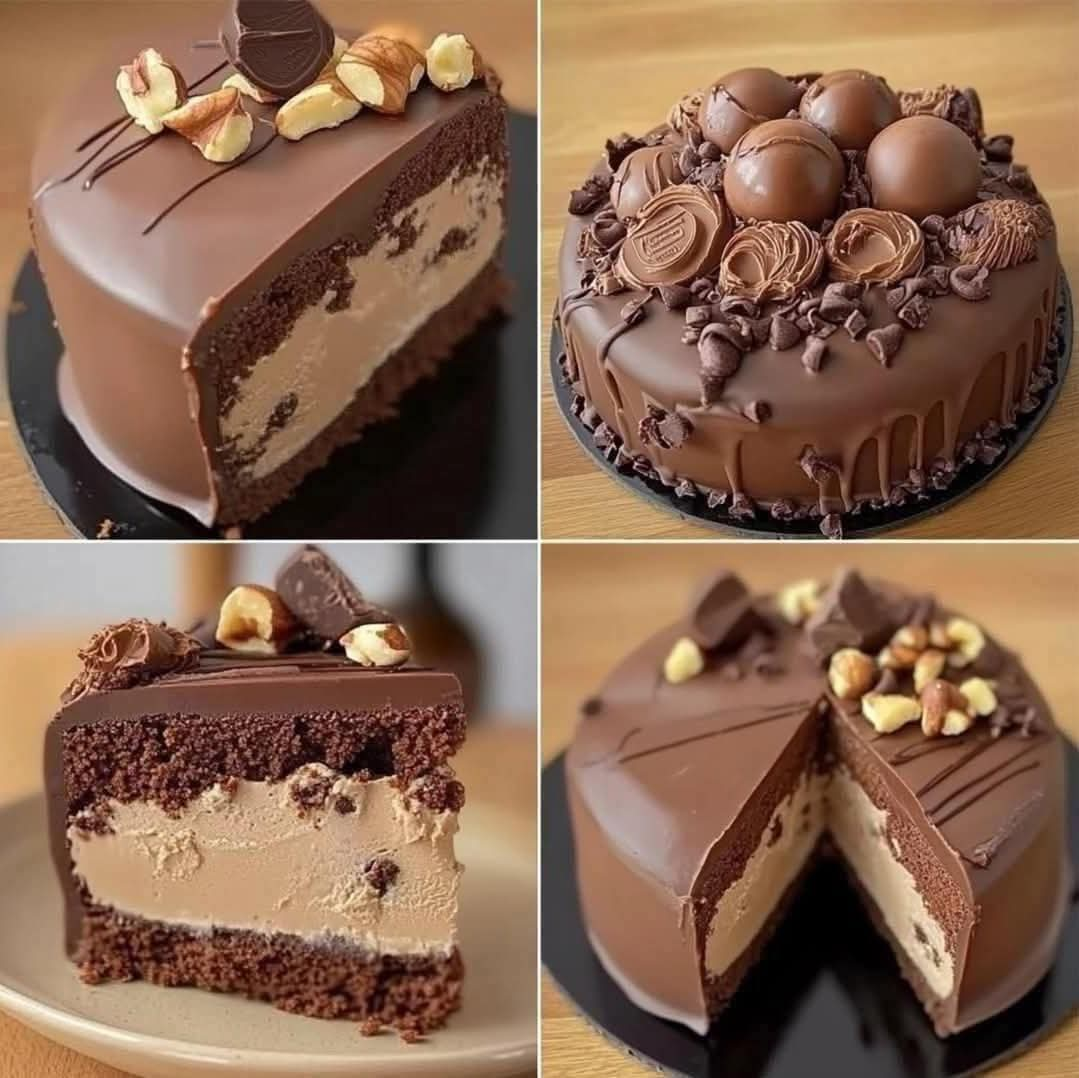
Heavenly Chocolate Hazelnut Ice Cream Cake
A celebration of flavors, textures, and timeless love for dessert.
Introduction
Imagine a dessert that brings together the velvety richness of chocolate, the nutty crunch of roasted hazelnuts, and the luxurious smoothness of creamy ice cream. Enter the Heavenly Chocolate Hazelnut Ice Cream Cake. This is not just a dessert—it’s a love affair between textures and tastes, built layer by layer with patience, joy, and indulgence.
Perfect for birthdays, anniversaries, dinner parties, or even a midnight craving, this ice cream cake is meant to impress both your taste buds and your guests.
A Bit of History
The origins of ice cream cake trace back to the 18th century when molded desserts combining biscuits, cream, and frozen treats were popular among European aristocracy. The chocolate-hazelnut combination? That’s a nod to gianduja, an Italian creation born in Turin during Napoleon’s reign, when cocoa was scarce, and hazelnuts were used to stretch the supply.
Over the years, chocolate and hazelnut evolved into an iconic pair—celebrated in spreads like Nutella and desserts like Ferrero Rocher. This recipe brings that same legendary duo into the creamy, dreamy world of ice cream cake.
Ingredients
For the Chocolate Hazelnut Brownie Base
- 1 cup unsalted butter (melted)
- 1½ cups granulated sugar
- 1 cup brown sugar
- 4 large eggs
- 1 tbsp vanilla extract
- 1 cup all-purpose flour
- 1 cup unsweetened cocoa powder
- ½ tsp salt
- 1 cup toasted hazelnuts, chopped
For the Chocolate Ice Cream Layer
- 1.5 quarts chocolate ice cream (softened)
For the Hazelnut Ice Cream Layer
- 1.5 quarts hazelnut or vanilla ice cream (softened)
- ½ cup Nutella or chocolate hazelnut spread (swirled in)
For the Chocolate Ganache Topping
- 1 cup heavy cream
- 8 oz semisweet chocolate, chopped
- 2 tbsp butter
- 1 tsp instant espresso powder (optional, enhances flavor)
For Garnish
- Extra toasted hazelnuts
- Chocolate curls or shavings
- Ferrero Rocher (optional but glorious)
- Whipped cream (optional)
Tools You’ll Need
- 9-inch springform pan or cake ring
- Parchment paper
- Spatula
- Saucepan
- Mixing bowls
- Electric mixer or whisk
- Freezer space!
Method: Formation of the Cake
Step 1: Prepare the Brownie Base
- Preheat oven to 350°F (175°C). Line the bottom of your springform pan with parchment.
- In a bowl, whisk together melted butter, granulated sugar, and brown sugar until smooth.
- Add in eggs one at a time, then stir in vanilla.
- Sift in cocoa powder, flour, and salt. Mix until just combined.
- Fold in toasted hazelnuts.
- Spread batter evenly into the pan and bake for 25–30 minutes or until a toothpick comes out with moist crumbs.
- Cool completely and freeze for 30 minutes to firm up.
Step 2: Chocolate Ice Cream Layer
- Spread softened chocolate ice cream over the cooled brownie layer.
- Use a spatula to smooth it evenly.
- Freeze for at least 1–2 hours until firm.
Step 3: Hazelnut Ice Cream Layer
- In a bowl, mix softened hazelnut or vanilla ice cream with swirls of Nutella for texture and flavor.
- Spread over the chocolate ice cream layer.
- Freeze again for 2–4 hours or overnight.
Step 4: Chocolate Ganache
- Heat cream in a saucepan over medium heat until simmering.
- Pour over chopped chocolate in a bowl, let sit for 2 minutes.
- Add butter and espresso powder. Stir until smooth and glossy.
- Cool slightly, then pour over the frozen cake. Let it drip elegantly over the edges.
- Freeze again for 1 hour to set the ganache.
Decorating (Lovers’ Touch)
Now comes the fun, romantic, artistic part. Decorate with:
- Hazelnuts (whole or crushed for texture)
- Chocolate curls (use a vegetable peeler and a chocolate bar)
- Ferrero Rocher on top like edible jewels
- Whipped cream piped around the edges
Optional twist: Write a chocolate message on top for a loved one.
Serving & Storage
- Let the cake sit at room temperature for 10 minutes before slicing.
- Use a warm knife (dip in hot water) for clean cuts.
- Store leftovers wrapped in plastic in the freezer for up to 1 week—if it lasts that long!
Conclusion: Why You’ll Fall in Love
This cake is more than just a dessert—it’s a celebration of contrasts. Fudgy and crunchy, creamy and rich, cold and warm-hearted in flavor. Each bite is a luxurious experience.
You’ll fall in love with:
- The depth of chocolate
- The roasted nuttiness
- The layers that surprise your palate
- The admiration from friends and lovers
For the Lovers (of dessert)
Some desserts are flings. This one is a relationship. It’s the kind of cake people request year after year. The one someone brings out with candles and everyone leans in.
If you’re someone who:
- Lives for chocolate,
- Dreams in Nutella swirls,
- Believes ice cream is its own food group—
Then this cake is your soulmate.
Want a printable or visual version too? I can help with that!