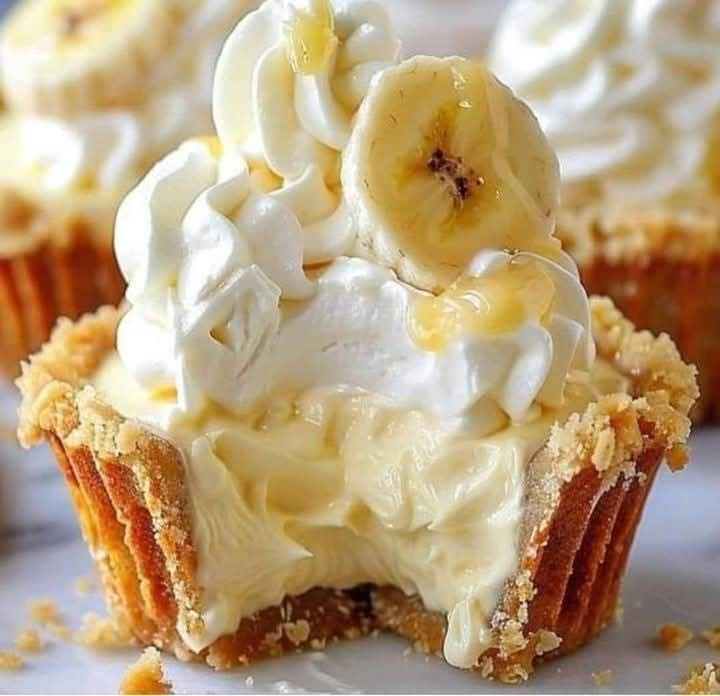
Absolutely! Based on your prompt, here’s a long, rich, indulgent recipe story — complete with history, introduction, ingredients, step-by-step instructions, and the warm kind of storytelling that makes a dessert unforgettable. Let’s dive into the full experience of this heavenly treat…
The Ultimate No-Bake Chocolate Peanut Butter Bars
Introduction
If there were ever a dessert that spoke directly to the soul, it would be these No-Bake Chocolate Peanut Butter Bars. For decades, they’ve shown up at potlucks, family gatherings, late-night kitchen raids, and secret snack stashes. They look like they took hours — but take minutes. They taste like a gourmet candy bar — but use pantry staples. And they feel like love — because they are love.
These bars are for everyone: busy parents, beginner bakers, chocolate lovers, peanut butter addicts, and anyone who wants to bring magic to the table without turning on the oven. They are ridiculously simple, deeply nostalgic, and dangerously addictive.
Whether you’ve been making these for years or you’re about to taste them for the first time — welcome to your new dessert obsession.
History & Formation
The origin of these bars is humble — traced back to Midwest America, often appearing in church cookbooks, PTA newsletters, and passed-on recipe cards, sometimes simply called “Homemade Reese’s.” They became a staple in kitchens that prized flavor, comfort, and a touch of indulgence without the fuss of baking.
Their secret? The perfect ratio of sweetened peanut butter filling to rich chocolate topping. Over time, people have customized them with sea salt, crushed pretzels, even marshmallow fluff — but the classic version? It never fails.
Ingredients
Peanut Butter Layer:
- 1 cup (2 sticks) unsalted butter, melted
- 2 cups graham cracker crumbs (about 2 sleeves, finely crushed)
- 2 cups powdered sugar
- 1 ½ cups creamy peanut butter (do NOT use natural or oily brands)
Chocolate Topping:
- 1 ½ cups semi-sweet chocolate chips
- ¼ cup creamy peanut butter
Instructions & Method
Step 1: Prepare the Pan
Line a 9×13-inch pan with parchment paper or lightly grease it. This will make it easy to lift the bars out later for slicing.
Step 2: Make the Peanut Butter Base
- In a large mixing bowl, combine the melted butter, graham cracker crumbs, powdered sugar, and peanut butter.
- Stir until completely smooth and combined. It should form a thick, slightly sticky mixture.
- Press the peanut butter mixture evenly into the prepared pan, using a spatula or your hands to flatten and smooth the top.
Step 3: Make the Chocolate Topping
- In a microwave-safe bowl or using a double boiler, melt the chocolate chips and peanut butter together. Microwave in 30-second bursts, stirring in between, until smooth and glossy.
- Pour the melted chocolate over the peanut butter layer and spread it evenly with a spatula.
Step 4: Chill
Place the pan in the refrigerator for at least 2 hours (or freeze for 30–45 minutes if you’re in a hurry) until the bars are fully set.
Step 5: Slice & Serve
Lift the bars out using the parchment paper and place on a cutting board. Run a knife under hot water and dry it between slices for clean edges.
Lovers of This Recipe Say…
- “These are the only thing my husband ever asks for on his birthday.”
- “My kids think I’m a wizard when I make these.”
- “I brought these to work and people are still talking about them two months later.”
- “They taste better than Reese’s. I said what I said.”
Tips & Variations
- Add a crunch: Sprinkle chopped peanuts or crushed pretzels on top of the chocolate before chilling.
- Sea salt finish: A light sprinkle of flaky sea salt right on top takes it to another level.
- Vegan swap: Use vegan butter and dairy-free chocolate chips for an easy plant-based version.
- Nut-free option: Sub in sunflower seed butter for those with allergies.
Conclusion
These No-Bake Chocolate Peanut Butter Bars are more than a dessert. They’re a tradition. They’re a comfort. They’re yours now — to share, to savor, and to be known for.
So next time someone asks, “Can I get the recipe?” — smile and say, “Of course. But only if you promise to pass it on.”
And if you love recipes like this and want more straight from the heart (and kitchen), you must stay tuned. The next one’s even better.
Don’t forget to save this. Share it. Bake it with love.
Recipe in the first comment, because that’s where the legends live.
Want me to turn this into a cute printable card, video script, or carousel-style post for socials? Just say the word!
