Here’s a comprehensive guide to making Warm Baked Apple Fritters with Glaze—including history, ingredients, step-by-step instructions, formation techniques, and why apple fritter lovers adore this classic treat.
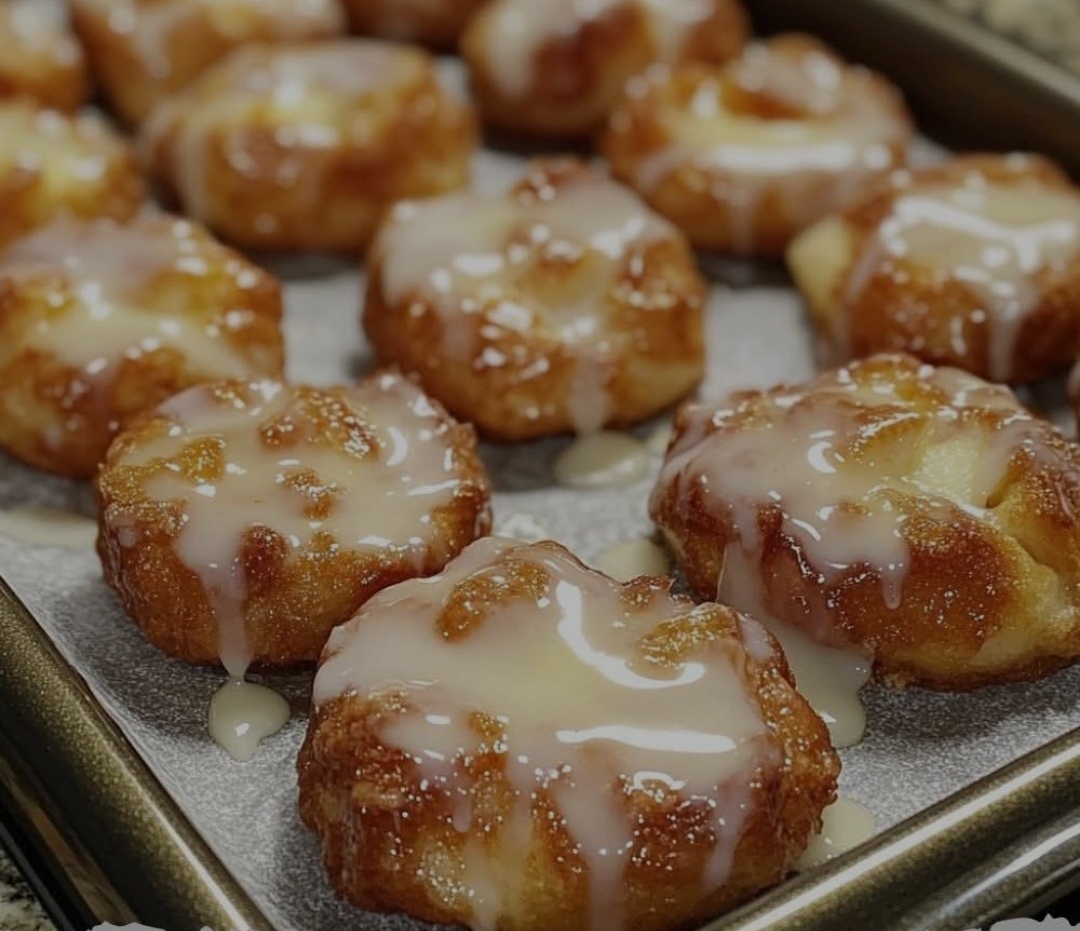
Warm Baked Apple Fritters with Glaze
Introduction
Apple fritters are a beloved treat known for their crispy exterior, soft interior, and comforting cinnamon-apple flavor. Unlike traditional deep-fried fritters, this recipe offers a healthier baked version while maintaining the same delicious texture. The combination of warm apples, aromatic spices, and a sweet glaze makes these fritters perfect for breakfast, dessert, or an afternoon snack with coffee.
History of Apple Fritters
Apple fritters date back centuries, originating from European and American traditions. Early recipes can be traced to medieval Europe, where apples were battered and fried as a way to preserve fruit through colder months. In the United States, apple fritters became popular in the South, often paired with coffee or served at fairs and festivals. While the deep-fried version remains a favorite at bakeries and donut shops, baked apple fritters have emerged as a lighter, more home-friendly alternative.
Ingredients
For the Apple Fritters:
- 2 cups all-purpose flour
- ¼ cup granulated sugar
- 2 teaspoons baking powder
- ½ teaspoon salt
- 1 teaspoon ground cinnamon
- ½ teaspoon ground nutmeg
- ½ cup whole milk
- 2 large eggs
- 1 teaspoon vanilla extract
- 2 tablespoons unsalted butter, melted
- 2 medium apples (Granny Smith or Honeycrisp), peeled, cored, and diced
- 1 tablespoon lemon juice (to prevent browning)
For the Glaze:
- 1 cup powdered sugar
- 2 tablespoons milk
- ½ teaspoon vanilla extract
Instructions
Step 1: Prepare the Apples
- Peel, core, and dice the apples into small chunks.
- Toss the apple pieces in lemon juice to prevent them from browning. Set aside.
Step 2: Make the Batter
- In a large mixing bowl, whisk together the flour, sugar, baking powder, salt, cinnamon, and nutmeg.
- In a separate bowl, whisk the milk, eggs, vanilla extract, and melted butter until smooth.
- Gradually mix the wet ingredients into the dry ingredients, stirring until just combined. Avoid overmixing.
- Gently fold in the prepared apple pieces.
Step 3: Shape the Fritters
- Line a baking sheet with parchment paper and lightly grease it.
- Using a spoon or ice cream scoop, drop batter onto the baking sheet, spacing them about 2 inches apart.
- Lightly flatten the fritters with the back of a spoon for even baking.
Step 4: Bake the Fritters
- Preheat the oven to 375°F (190°C).
- Bake for 18–22 minutes, or until golden brown and a toothpick inserted in the center comes out clean.
- Let them cool for a few minutes while you prepare the glaze.
Step 5: Make the Glaze
- In a small bowl, whisk together powdered sugar, milk, and vanilla extract until smooth.
- If the glaze is too thick, add a little more milk. If too thin, add more powdered sugar.
Step 6: Glaze the Fritters
- Drizzle or dip each warm fritter in the glaze.
- Let the glaze set for a few minutes before serving.
Formation of Apple Fritters
Apple fritters can be formed in various ways:
- Drop-style (as in this recipe) for a rustic, freeform look.
- Flattened rounds for an even texture.
- Muffin-style by baking in muffin tins for a neater appearance.
Why Apple Fritter Lovers Adore This Recipe
- Healthier Option: Baked instead of fried, making it a guilt-free indulgence.
- Full of Flavor: The warm spices, juicy apples, and sweet glaze create an irresistible combination.
- Easy to Make: No frying mess—just mix, bake, and enjoy!
- Perfect for Any Time of Year: Whether it’s fall or summer, apple fritters are always a cozy treat.
Conclusion
Baked apple fritters offer the same satisfying flavors of the traditional deep-fried version but in a lighter, easier-to-make form. Whether enjoyed warm with a cup of coffee or packed as a sweet snack, these fritters will quickly become a favorite in your kitchen.
Happy Baking!