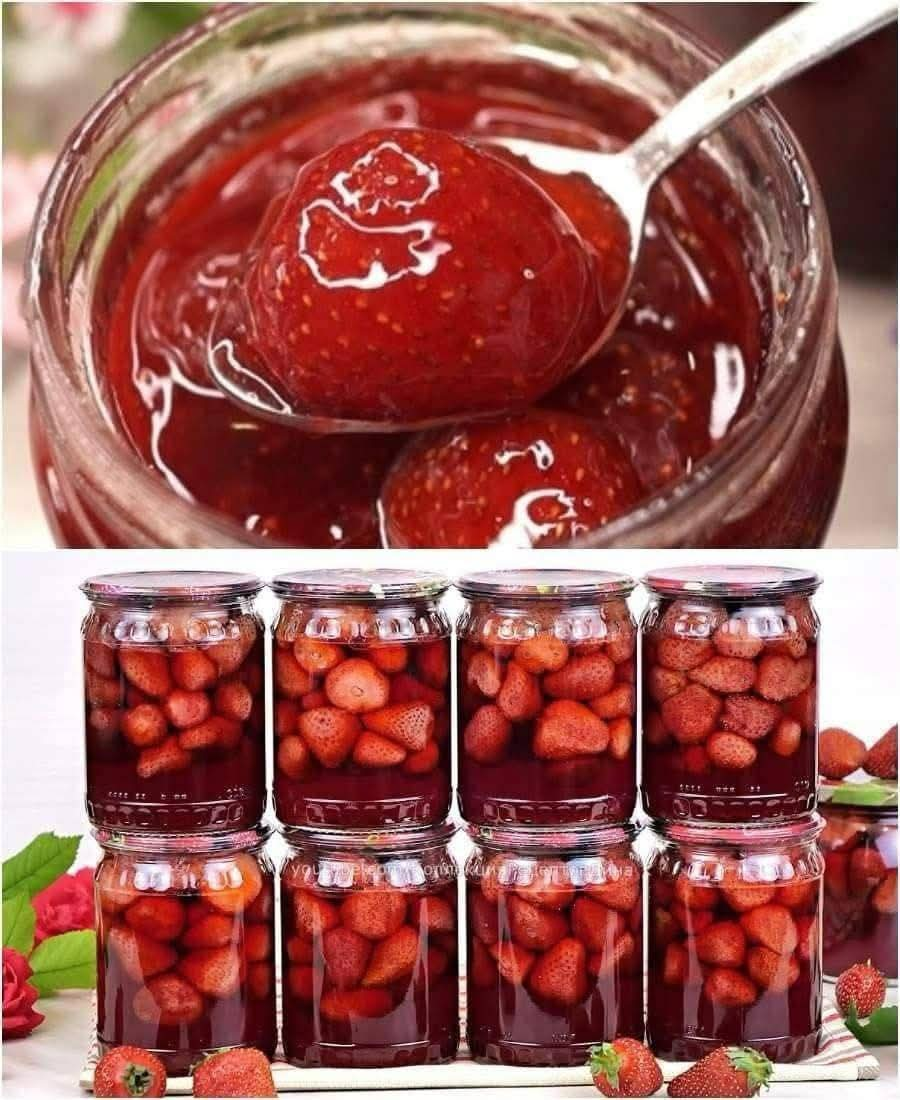
Homemade Strawberry Jam
A Classic Recipe Without Thickeners
Introduction
Strawberry jam is a timeless homemade treat that captures the essence of fresh strawberries in every spoonful. Unlike store-bought versions that often contain artificial additives or pectin, this recipe relies solely on the natural pectin found in strawberries and sugar to achieve a thick, luscious texture. The result is a jam that bursts with authentic strawberry flavor and aroma.
This method has been cherished for generations, preserving the sweetness of summer in a jar. Whether spread on warm toast, swirled into yogurt, or used as a filling for pastries, this strawberry jam is a favorite among lovers of homemade preserves.
Ingredients
- 5 lbs (2.2 kg) fresh, ripe strawberries
- 4 lbs (1.8 kg) granulated sugar
- Juice of 1 large lemon
Instructions
Step 1: Preparing the Strawberries
- Wash the strawberries thoroughly under cold running water.
- Remove the green tops (hulls) and cut larger strawberries into halves or quarters for even cooking.
Step 2: Maceration
- Place the prepared strawberries in a large bowl.
- Add the sugar and mix gently until the strawberries are evenly coated.
- Let the mixture sit for at least 6-8 hours or overnight. This process allows the strawberries to release their juices naturally, enhancing the flavor and reducing the need for additional liquid.
Step 3: Cooking the Jam
- Transfer the macerated strawberries and their juices to a large, heavy-bottomed pot.
- Squeeze in the fresh lemon juice to help preserve color and balance the sweetness.
- Bring the mixture to a gentle boil over medium heat, stirring occasionally.
- Reduce the heat to low and let the jam simmer, stirring frequently to prevent sticking or burning.
- Cook until the jam reaches the desired consistency, usually about 45-60 minutes. To check, place a small amount on a cold plate—if it wrinkles when pushed, it is ready.
Step 4: Sterilizing Jars
- While the jam is cooking, sterilize glass jars by boiling them in hot water for 10 minutes.
- Allow them to air dry on a clean towel before filling.
Step 5: Filling the Jars
- Carefully ladle the hot jam into the sterilized jars, leaving a small space at the top.
- Wipe the rims clean to ensure a proper seal.
- Secure the lids tightly.
Step 6: Sealing and Storing
- Process the filled jars in a boiling water bath for 10 minutes to ensure proper sealing.
- Let them cool at room temperature before storing in a cool, dark place.
The History of Strawberry Jam
Strawberry jam has a rich history, dating back to the early 17th century when sugar became widely available in Europe. Before refrigeration, preserving fruits in sugar was an essential method of extending their shelf life. Over time, each region developed its own variation, but the core principles remained the same: fresh fruit, sugar, and patience.
Homemade strawberry jam has been passed down through generations, with many families keeping their own secret methods. The absence of commercial thickeners in traditional recipes ensures that the true taste of strawberries shines through.
Why Lovers of Homemade Preserves Adore This Jam
Strawberry jam lovers cherish this recipe because of its pure, unaltered flavor. The natural sweetness of the fruit, enhanced by slow cooking, creates a jam that tastes like fresh-picked strawberries. Whether given as a homemade gift or enjoyed daily, this jam is a symbol of warmth, tradition, and love.
Conclusion
Making homemade strawberry jam without a thickener is a rewarding process that preserves the integrity of the fruit. By following this traditional method, you ensure that each jar captures the rich taste and aroma of strawberries at their peak. Whether you’re a seasoned jam maker or trying it for the first time, this recipe will become a beloved staple in your kitchen.
Enjoy your homemade strawberry jam on toast, pancakes, or straight from the jar—because nothing compares to the taste of a well-made, natural preserve!
