Date & Nut Pinwheels: A Classic Swirl of Sweetness
Introduction
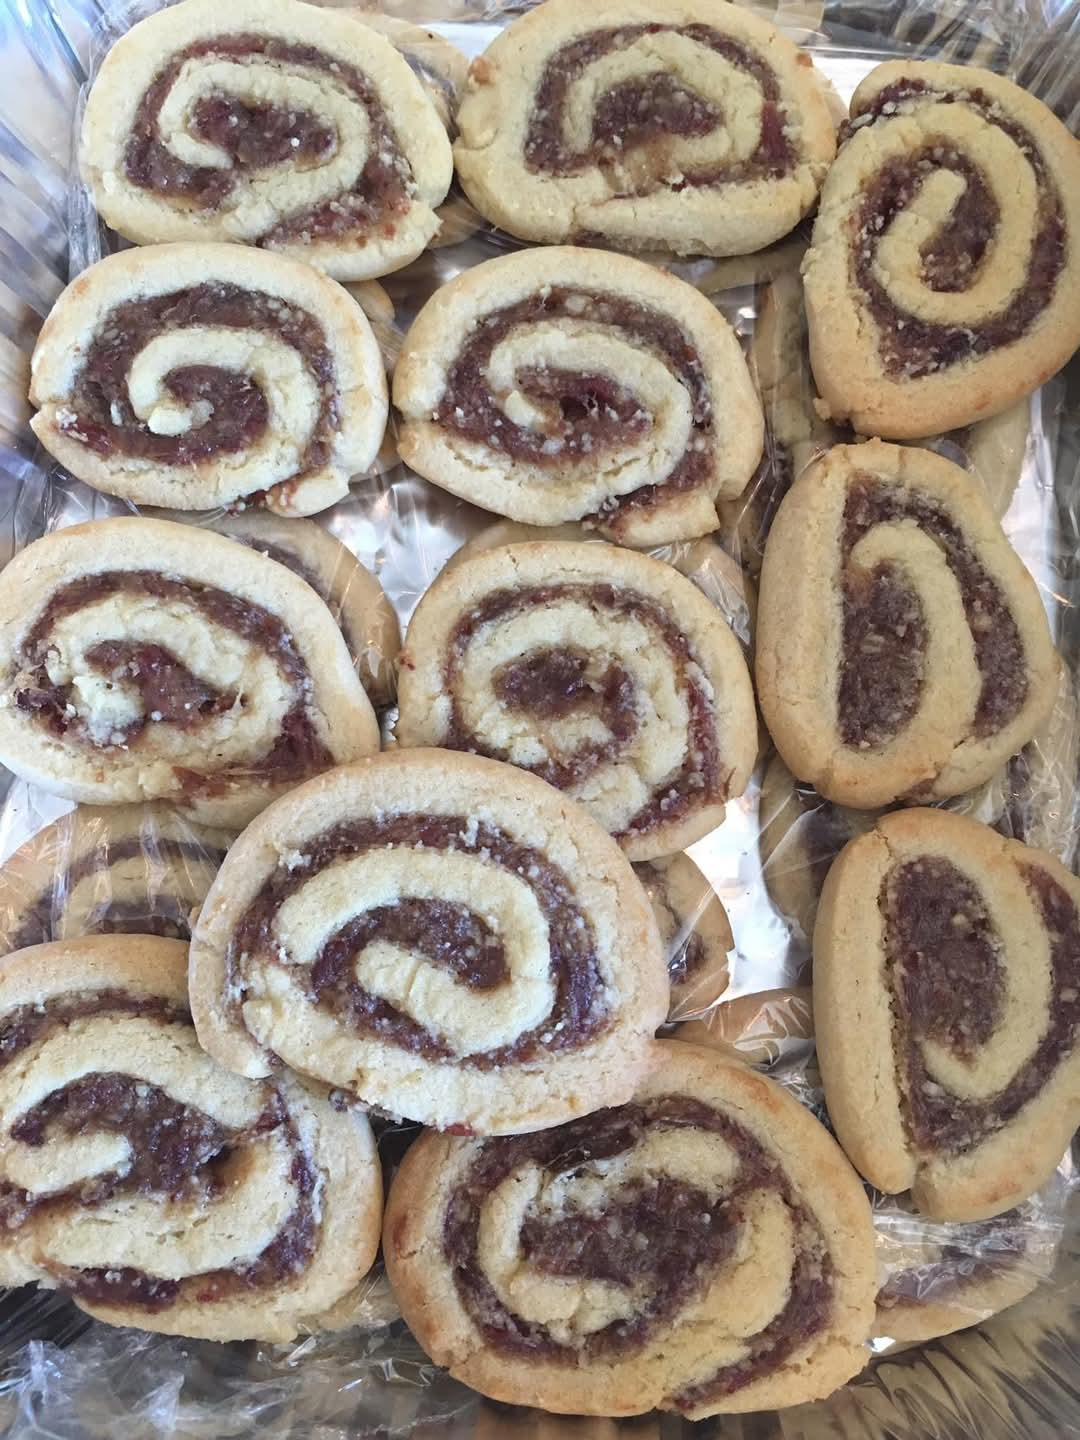
Date & Nut Pinwheels are a nostalgic treat that beautifully combines the natural sweetness of dates with the crunch of nuts, all wrapped in a soft, buttery cookie dough. These cookies have been cherished for generations, often appearing on holiday trays, at family gatherings, or as a delightful homemade gift. Their distinct spiral shape makes them as visually appealing as they are delicious, offering a perfect balance of textures and flavors in every bite.
History of Date & Nut Pinwheels
The tradition of rolling cookie dough into pinwheels dates back to early European baking techniques, which later influenced American home bakers in the early 20th century. With the rise of refrigeration, bakers found it easier to prepare these slice-and-bake cookies ahead of time. Dates, known for their natural sweetness and chewy texture, have been a staple ingredient in many cultures for centuries, often paired with nuts like walnuts or pecans to create a satisfying contrast of flavors.
Ingredients
For the Dough:
- 1 cup (2 sticks) unsalted butter, softened
- 2 cups granulated sugar
- 2 large eggs
- 1 teaspoon vanilla extract
- 3 ½ cups all-purpose flour
- ½ teaspoon salt
- 1 teaspoon baking soda
For the Date & Nut Filling:
- 2 cups chopped dates
- 1 cup chopped walnuts or pecans
- ¾ cup brown sugar
- ½ cup water
- 1 teaspoon cinnamon (optional)
- 1 teaspoon vanilla extract
Instructions & Method
Step 1: Make the Dough
- In a large mixing bowl, cream together the butter and granulated sugar until light and fluffy.
- Add the eggs one at a time, beating well after each addition.
- Stir in the vanilla extract.
- In a separate bowl, whisk together the flour, salt, and baking soda.
- Gradually add the dry ingredients to the butter mixture, mixing until a soft dough forms.
- Divide the dough into two portions, wrap in plastic wrap, and refrigerate for at least 1 hour.
Step 2: Prepare the Filling
- In a medium saucepan over medium heat, combine the chopped dates, brown sugar, and water.
- Stir continuously until the mixture thickens, about 5-7 minutes.
- Remove from heat and stir in the vanilla extract and cinnamon (if using).
- Let the filling cool to room temperature before using.
Step 3: Assemble the Pinwheels
- On a lightly floured surface, roll out one portion of the dough into a rectangle about ¼-inch thick.
- Spread half of the date filling evenly over the dough, leaving a small border around the edges.
- Sprinkle half of the chopped nuts over the filling.
- Carefully roll the dough into a tight log, starting from the long edge.
- Wrap the log in plastic wrap and refrigerate for at least 4 hours (or overnight) to firm up.
- Repeat with the second portion of dough and remaining filling.
Step 4: Slice & Bake
- Preheat the oven to 375°F (190°C) and line baking sheets with parchment paper.
- Using a sharp knife, slice the chilled dough logs into ¼-inch thick rounds.
- Place the slices about 1 inch apart on the prepared baking sheets.
- Bake for 10-12 minutes or until the edges are golden brown.
- Let the cookies cool on the baking sheet for 5 minutes, then transfer them to a wire rack to cool completely.
Conclusion
Date & Nut Pinwheels are a timeless cookie that combines classic flavors with a beautiful presentation. Their make-ahead nature makes them perfect for holiday baking, special occasions, or simply enjoying with a cup of coffee or tea. The rich sweetness of dates, the crunch of nuts, and the buttery cookie base create a perfect balance that keeps cookie lovers coming back for more.
Who Loves Date & Nut Pinwheels?
- Holiday Bakers: These cookies are a staple on festive cookie trays.
- Nut & Fruit Lovers: The natural combination of dates and nuts offers a delicious contrast of flavors.
- Traditionalists: Those who appreciate old-fashioned, homemade treats.
- Slice-and-Bake Enthusiasts: The convenience of preparing the dough ahead of time makes these cookies a favorite for busy bakers.
Would you like any modifications, such as gluten-free or vegan alternatives?